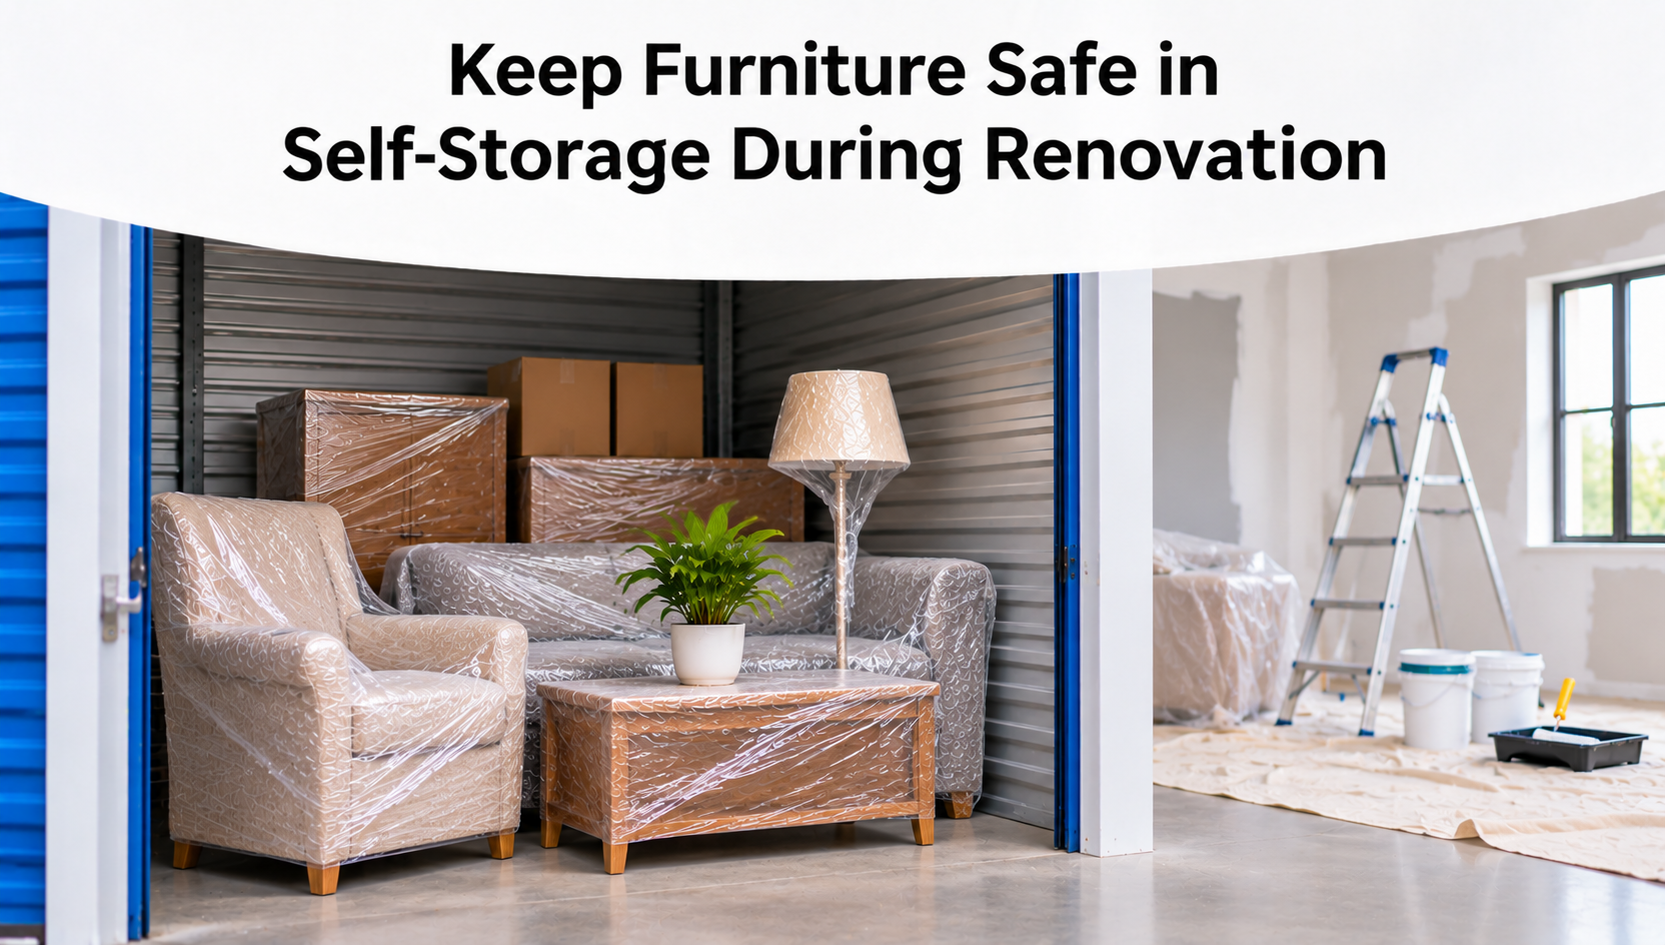
Home renovations can expose furniture to construction dust, paint splashes, debris, accidental impacts, and other hazards. Moving furniture into a suitable self-storage unit keeps it away from the immediate work area while giving contractors more room to complete the project.
The key is to prepare furniture properly, choose suitable storage conditions, and maintain protection throughout the renovation. This guide explains how to organize, pack, transport, and protect furniture until your home is ready.
Key Takeaways
- Remove furniture from active renovation areas to prevent exposure to dust, paint, construction debris, and accidental damage.
- Create an inventory and photograph furniture before cleaning, packing, and transportation.
- Clean and completely dry furniture before applying protective covers or placing it inside storage containers.
- Use furniture blankets, breathable covers, corner protectors, and suitable cushioning to prevent scratches and impact damage.
- Consider climate-controlled storage for wooden, leather, upholstered, and other environmentally sensitive furniture.
- Keep furniture stable, elevated where practical, and away from direct contact with damp walls and floors.
- Coordinate storage arrangements with the renovation schedule and allow for possible construction delays.
- Review storage insurance coverage, limits, exclusions, and policy dates before moving valuable furniture into storage.
Pro Tip
Do not wait until contractors are ready to begin work before arranging furniture storage. Create a room-by-room removal schedule, book the storage unit in advance, and photograph valuable pieces before they leave your home. This gives you enough time to prepare each item properly and reduces the chance of furniture being left exposed while renovation work is underway.
Why Should You Move Furniture Into Storage During Renovation?
Home renovation projects can create an environment that is unsuitable for keeping furniture. Removing walls, sanding floors, painting surfaces, replacing fixtures, and installing new materials can generate dust, debris, and spills. Contractors also need adequate space to move equipment, materials, and tools safely through the property.
Leaving furniture inside an active work area increases the possibility of accidental damage. Even furniture covered with sheets or blankets can remain vulnerable to airborne dust, paint splashes, sharp materials, and repeated movement around the room.
Moving furniture into a dedicated storage unit provides physical separation from the renovation site. It also helps organize the project by clearing rooms, creating safer working areas, and reducing the number of belongings that contractors must work around.
Protect Furniture From Construction Dust
Sanding drywall, cutting wood, removing tiles, and preparing walls can release fine dust particles throughout a property. These particles can settle on furniture, enter upholstery, accumulate inside drawers, and collect around delicate components.
Fine dust can be particularly difficult to remove from textured upholstery, decorative carvings, and intricate furniture finishes. Covering furniture inside the renovation area may reduce exposure, but it does not provide the same separation as moving it completely away from active construction.
Prevent Paint and Chemical Stains
Painting, staining, sealing, and finishing work can expose nearby furniture to liquid spills, airborne droplets, solvents, and cleaning products. Even a small splash can permanently affect upholstery, leather, polished wood, and other sensitive surfaces.
Removing furniture before painting or finishing begins eliminates much of this direct exposure. It also reduces the need to repeatedly move protective coverings as contractors transition between different rooms and renovation stages.
Create More Working Space for Contractors
Furniture left inside a renovation area can obstruct access to walls, floors, windows, electrical fixtures, and plumbing installations. Workers may need to move heavy items repeatedly, increasing the chance of scratches, dents, broken components, and accidental collisions.
Clearing the work area makes it easier for contractors to complete their tasks without navigating around household belongings. It can also reduce disruption when multiple tradespeople need access to the same rooms.
Create a Furniture Removal Plan Before Renovation Begins
A successful furniture storage arrangement starts with a clear removal plan. Instead of packing everything at once without considering the project schedule, identify which rooms will be renovated first and determine when each group of furniture needs to leave the property.
Discuss the renovation timeline with your contractor and establish a realistic date for clearing each room. This helps you avoid moving furniture unnecessarily and gives you time to arrange transportation, packing supplies, and storage access.
Identify Furniture That Needs Immediate Removal
Start with rooms undergoing the most disruptive work. Kitchens, bathrooms, living rooms, and bedrooms may require different preparation depending on whether the project involves demolition, flooring replacement, painting, or structural changes.
- Remove sofas, armchairs, coffee tables, and entertainment furniture before living room renovations begin.
- Clear beds, dressers, wardrobes, and bedside furniture before bedroom flooring or painting work starts.
- Move dining tables, chairs, cabinets, and other furnishings before major kitchen or dining area work.
- Protect delicate decorative furniture and valuable pieces before contractors bring tools and materials into the property.
Furniture that remains outside the active renovation area may not require immediate removal, but it should still be assessed for exposure to dust, foot traffic, and material movement. Do not assume a closed room is completely protected if contractors will be passing through it or conducting work nearby.
Create an Inventory Before Packing
Document every furniture piece before removing it from your home. Record its description, approximate age, condition, and estimated replacement value. Photograph the front, back, sides, corners, and any existing defects so you have a clear record of its condition before storage.
Keep receipts, purchase confirmations, appraisals, and important ownership records where available. Store these documents digitally or in another secure location rather than placing them inside the storage unit. Detailed records can help you establish ownership and support a potential insurance claim, subject to the applicable policy requirements.
Choose the Right Storage Unit for Renovation Furniture
Selecting a suitable storage unit is important when you are temporarily removing furniture from your home. The space must accommodate the size and quantity of your belongings while providing appropriate access and storage conditions for the expected renovation period.
Measure large furniture pieces before choosing a unit. Consider the dimensions of sofas, wardrobes, dining tables, mattresses, and cabinets, including any components that cannot be disassembled. Allow enough space for protective coverings, access, and safe positioning rather than calculating capacity using furniture dimensions alone.
Check the differences between short-term and long-term storage when planning your arrangement, particularly if the renovation schedule may change or the furniture could remain outside your home longer than expected.
Consider Climate-Controlled Storage
Furniture made from wood, leather, fabric, and other sensitive materials can be affected by changes in temperature and humidity. Significant fluctuations may contribute to swelling, shrinking, cracking, warped surfaces, mold development, or changes in upholstery condition.
Climate-controlled storage can be worth considering when storing valuable wooden furniture, leather sofas, antique pieces, and upholstered belongings. Ask the facility about its temperature and humidity management rather than assuming every indoor unit provides environmental control.
Remember that climate control does not eliminate every risk. Leaks, pests, physical impacts, and unsuitable packing can still cause damage. Select an appropriate facility and prepare furniture correctly even when environmental controls are available.
Inspect the Storage Unit Before Moving Furniture Inside
Inspect the walls, ceiling, floor, corners, and entry door before loading furniture. Look for damp patches, roof stains, water marks, musty odors, cracks, and signs of pests. Check that the door and locking system work properly and ask management about any maintenance concerns you notice.
Water intrusion deserves particular attention when storing upholstered or wooden furniture. A small leak can affect multiple items if it goes unnoticed. This guide explains how roof leaks can affect stored belongings and why checking a unit's condition before move-in matters.
How to Prepare Furniture for Storage During Renovation
Furniture should be prepared individually rather than covered immediately before transportation. Proper preparation reduces the transfer of construction dust, dirt, moisture, and other contaminants into the storage unit. It also makes unpacking easier when the renovation is complete.
Clean and Dry Every Furniture Piece
Wipe down wooden and hard surfaces with suitable cleaning products. Vacuum upholstery, remove visible dirt, and clean stains according to the manufacturer's instructions. Make sure furniture is completely dry before applying protective coverings.
Pay attention to areas that are easy to overlook, including drawer interiors, joints, undersides, seams, and spaces between cushions. Dust and food residue left in these locations can create odors and attract pests during extended storage.
Disassemble Large Pieces Where Appropriate
Remove detachable table legs, bed frames, shelves, cabinet components, and other parts where the furniture is designed to be disassembled. This makes larger pieces easier to transport and can reduce the amount of storage space they require.
Keep screws, bolts, handles, and fittings in clearly labeled bags. Secure the bags to the corresponding item when appropriate and photograph the original arrangement before dismantling furniture. Avoid forcing joints or removing components that are permanently attached.
Protect Furniture Surfaces and Corners
Use moving blankets or padded furniture covers to protect wooden surfaces, table edges, cabinet corners, and upholstered pieces. Add suitable corner protectors to furniture with exposed edges that could become scratched during loading or transportation.
Do not apply adhesive tape directly to finished wood, leather, or delicate upholstery. When securing blankets with stretch wrap, place the wrap around the protective covering rather than directly against sensitive furniture surfaces.
Use Breathable Furniture Covers
Furniture covers help protect belongings from dust and incidental contact with other objects. However, the material should allow suitable air exchange, especially for upholstered furniture, leather, and wood stored for several weeks or months.
Avoid tightly sealing damp furniture inside plastic sheeting. Trapped moisture can contribute to mold and mildew, particularly when storage conditions are unsuitable. Use clean breathable fabric covers or furniture blankets that fit the size and material of each item.
Protect Different Furniture Materials During Renovation Storage
Furniture materials react differently to dust, moisture, temperature changes, and physical pressure. A general covering may not provide sufficient protection for every piece, so use preparation methods that suit the furniture's material and construction.
| Furniture Material |
Main Risks |
Protection Method |
| Solid and engineered wood |
Dust, humidity changes, scratches, warping, and finish deterioration. |
Use suitable wood cleaners, breathable covers, moving blankets, and appropriate environmental conditions. |
| Fabric and upholstered furniture |
Construction dust, paint stains, moisture, odors, and pressure damage. |
Vacuum, dry thoroughly, use breathable covers, and avoid stacking heavy belongings on cushions. |
| Leather |
Dryness, staining, scratches, and unsuitable humidity. |
Use suitable leather care products and breathable coverings; avoid direct sunlight and excessive heat. |
| Metal furniture |
Rust, corrosion, scratches, and impact damage. |
Clean and dry metal components and use appropriate surface protection. |
| Glass and decorative furniture |
Breakage, scratches, and damage from falling objects. |
Use individual cushioning, rigid packaging, and stable positioning away from heavy objects. |
How to Protect Furniture From Renovation-Related Hazards
Moving furniture into storage removes it from the immediate renovation environment, but the preparation and transportation process also requires attention. Furniture can be damaged while being moved through narrow hallways, loaded into vehicles, handled by movers, or positioned inside the storage unit.
Prevent Scratches During Moving and Loading
Cover exposed corners, remove detachable components, and wrap finished surfaces before moving furniture. Use appropriate lifting techniques and equipment for heavy items rather than dragging them across floors. Keep furniture away from exposed construction materials, sharp tools, and unfinished surfaces during the move.
Protect Furniture During Transportation
Use moving blankets, straps, and suitable restraints to reduce movement during transportation. Keep heavy pieces securely positioned and separate fragile furniture components from other items. Avoid placing unsecured belongings where they could shift, fall, or strike finished surfaces during the journey.
If you are using a portable storage container, confirm that the contents are packed and secured according to the provider's transportation requirements. Your insurance arrangements should also be checked for the transit period rather than assuming that storage-only coverage automatically includes transportation. See how to keep storage insurance active while your container is in transit for more information.
Keep Furniture Away From Construction Materials
Do not temporarily place furniture inside a garage, basement, or spare room if that location is being used to store renovation supplies, paints, solvents, adhesives, tiles, or tools. These materials can create additional exposure to spills, dust, physical impacts, and unsuitable environmental conditions.
Keep furniture separate from hazardous and flammable renovation materials. Follow the storage facility's prohibited-item rules and the manufacturer's safety instructions when handling paints, chemicals, fuels, and other construction products. A dedicated furniture storage area should remain clean, dry, and free from unnecessary renovation equipment.
How to Arrange Furniture Safely Inside the Storage Unit
Once furniture arrives at the storage facility, arrange it carefully to avoid creating new risks. An overcrowded unit can make it difficult to reach individual pieces, inspect protective coverings, and remove belongings without disturbing the rest of the arrangement.
- Position large and heavy furniture first, keeping it stable and properly supported.
- Keep sofas, mattresses, and upholstered chairs away from heavy boxes and equipment.
- Place smaller furniture components in labeled packages rather than leaving loose hardware inside the unit.
- Use suitable pallets or shelving to raise vulnerable items above direct floor contact where practical.
- Leave enough clearance between furniture and surrounding walls for inspection and access.
- Keep fragile pieces away from areas where other furniture or boxes could fall onto them.
- Maintain a clear walkway so furniture can be retrieved without moving unstable stacks.
Avoid filling every available gap if doing so makes the arrangement difficult to inspect or retrieve. A practical layout is more valuable than maximum capacity when your main objective is to protect furniture throughout a renovation.
How Long Should Furniture Remain in Storage During Renovation?
The storage period depends on the size of the renovation, the number of rooms involved, the availability of contractors, and the condition of the property. A small painting project may only require temporary furniture removal, while a full kitchen replacement, structural renovation, or whole-home remodel can take considerably longer.
Do not base the storage rental exclusively on the contractor's earliest completion estimate. Material shortages, inspection requirements, scheduling changes, and unexpected construction issues can delay the project. Allow extra time so you are not forced to retrieve furniture before the property is ready.
Short-term storage arrangements are useful when the project has a defined completion date, while longer arrangements may be necessary when several renovation stages are involved. If your storage period extends beyond the original plan, review your rental arrangements and insurance policy rather than assuming they will remain suitable automatically.
For additional guidance, read whether you can insure stored belongings for just one month if your renovation only requires a temporary storage arrangement.
Inspect Furniture While Renovation Work Continues
Moving furniture into storage does not mean you should forget about it until the renovation is complete. Periodic inspections help identify moisture, pest activity, displaced protective covers, and other issues that could affect your belongings.
During each visit, check the general condition of the storage unit and examine accessible furniture surfaces. Look for water marks, dampness, unusual odors, scratches, damaged covers, and signs of insects or rodents. Report maintenance problems to the storage facility promptly.
Maintain your original inventory and update it whenever furniture is added, removed, or repositioned. Keeping a record of inspection dates, photographs, and communications can help document the history of your storage arrangement.
What Happens When Renovation Takes Longer Than Expected?
Renovation delays can affect both your storage rental and your insurance arrangements. A project originally expected to take several weeks may extend because of contractor availability, material deliveries, permits, inspections, or additional repair work discovered during construction.
If your furniture must remain in storage longer than planned, contact the storage provider to confirm the updated rental period and any additional charges. Review your insurance dates, billing arrangements, coverage limit, and policy requirements to make sure protection remains appropriate for the extended period.
Do not assume that an insurance policy automatically remains active indefinitely or that the storage rental and insurance arrangements are linked. Read how automatic storage insurance renewal works and confirm the actual status of your policy before its scheduled end date.
Does Storage Insurance Protect Furniture During a Home Renovation?
Furniture kept in a self-storage unit can be eligible for contents insurance when it meets the policy requirements and a qualifying covered event causes the loss or damage. However, storage insurance is not a substitute for careful furniture preparation, contractor liability coverage, or insurance designed for the renovation work taking place at your property.
Coverage depends on the specific policy, including its covered causes of loss, exclusions, property restrictions, coverage limits, deductibles, and insured storage location. Damage caused by inadequate packing, gradual deterioration, or other excluded circumstances may not qualify simply because furniture was placed inside a storage unit.
Check What Your Storage Insurance Covers
Review the policy before moving furniture into storage. Check whether furniture is eligible property, which causes of loss are covered, and whether specific exclusions apply to water damage, mold, pests, accidental damage, or other relevant circumstances.
You should also confirm the coverage limit based on the total value of the stored furniture and other belongings. An insurance limit that is too low may leave part of the replacement cost uninsured after an eligible covered loss.
Learn how to choose the right storage unit insurance by comparing the policy's protection, covered events, limits, deductibles, and exclusions against the belongings you intend to store.
Understand the Difference Between Storage and Renovation Insurance
Storage contents insurance and renovation insurance address different risks. Storage insurance is intended to protect eligible contents kept at an insured storage location against specified covered events. Renovation-related insurance may address different exposures associated with construction work, contractors, property damage, and project responsibilities.
If furniture is damaged while contractors are working inside your home, the relevant responsibility and insurance arrangements may be different from a loss involving furniture inside a storage unit. Discuss contractor liability and property protection with the relevant insurance providers before work begins.
Document Furniture Condition Before and After Storage
Take clear photographs of furniture before moving it into storage and keep purchase receipts, valuations, and inventory records where available. When the renovation is complete, photograph the furniture again before unpacking or rearranging it. If you discover damage, preserve the photographs and supporting records and follow the policy's reporting instructions.
How to Move Furniture Back After Renovation
Once renovation work is finished, do not immediately move everything back into the house. First make sure construction debris has been removed, surfaces have been cleaned, paint and finishes have cured according to manufacturer instructions, and the renovated rooms are ready for furniture.
Inspect the furniture before transportation. Check protective coverings, wooden finishes, upholstery, legs, joints, and glass components. Compare the current condition with your original photographs and identify any changes that need attention.
- Confirm that flooring, paint, and other renovation finishes are ready for furniture placement.
- Remove furniture covers carefully to avoid transferring accumulated dust to clean surfaces.
- Inspect furniture for scratches, moisture marks, odors, and other signs of damage.
- Reassemble furniture using the original hardware and assembly instructions.
- Use suitable protective pads when positioning furniture on new flooring.
- Update your storage inventory and arrange the policy cancellation or continuation according to its terms.
Unload furniture gradually instead of placing everything in the newly renovated rooms at once. A planned return process helps prevent scratches on new floors, accidental impacts against freshly painted walls, and damage caused by moving too many items through narrow spaces.
Furniture Storage During Renovation Checklist
Use this checklist before, during, and after your renovation to keep the furniture storage process organized.
- Create a room-by-room furniture removal schedule with your contractor.
- Prepare a photographic inventory of furniture and record existing defects.
- Measure furniture and select a storage unit with sufficient space.
- Inspect the unit for leaks, dampness, pest activity, and security concerns.
- Clean and completely dry furniture before packing.
- Disassemble suitable furniture and label all hardware.
- Protect furniture with appropriate blankets, corner protectors, and breathable covers.
- Arrange transportation and secure furniture properly during loading.
- Keep stored furniture stable and accessible while the renovation continues.
- Inspect the storage unit periodically and report any problems.
- Review insurance coverage, rental dates, and any possible project extensions.
- Inspect furniture again before returning it to the renovated home.
Conclusion: Protect Your Furniture Throughout the Renovation
Keeping furniture safe during a home renovation requires planning before construction begins and continued attention throughout the project. Moving belongings away from active work areas, cleaning and packing them correctly, choosing an appropriate storage unit, and inspecting them periodically can help reduce the risk of dust, paint, moisture, and physical damage.
Allow enough time for storage arrangements, prepare an accurate inventory, and consider environmental requirements for delicate furniture. Renovation delays should also be taken into account when planning rental periods and reviewing insurance coverage.
Discount Storage Insurance provides dedicated insurance options for eligible belongings kept in self-storage units. Reviewing the available self-storage insurance coverage can help you understand the financial protection available for qualifying furniture and other stored contents when unexpected covered events occur, subject to policy terms, limits, and exclusions.
Frequently Asked Questions
Should I Move Furniture Into Storage Before Renovation Starts?
Yes, moving furniture before active renovation work begins can reduce exposure to construction dust, paint splashes, debris, and accidental impacts. Arrange removal according to the contractor's schedule and prioritize rooms where demolition, flooring, painting, or other disruptive work will take place.
What Is the Best Way to Protect Furniture During Home Renovation?
The most effective approach is to remove furniture from active renovation areas and place it in a suitable storage unit. Clean and dry each piece, use protective blankets and breathable covers, and organize the storage space to prevent scratches, pressure, and moisture exposure.
Can I Leave Furniture in Another Room During Renovation?
You can keep furniture in a separate room if it is genuinely isolated from construction activity, dust movement, contractor access, and material storage. However, airborne dust can spread throughout a property, and a room that appears unused may still be exposed to renovation-related hazards. Dedicated off-site storage provides greater separation when substantial work is taking place.
Should I Use Climate-Controlled Storage for Furniture During Renovation?
Climate-controlled storage can be beneficial for wooden furniture, leather, antiques, and upholstered pieces that are sensitive to humidity and temperature changes. Consider the local climate, expected storage duration, furniture materials, and environmental controls available at the facility before choosing a unit.
How Long Should Furniture Stay in Storage During Renovation?
Furniture should remain in storage until renovation work is sufficiently complete and the property is ready for its return. The duration depends on the project scope, contractor schedule, inspections, and any unexpected delays. Allow extra time when arranging the rental so furniture does not need to be removed prematurely.
Can Storage Insurance Cover Furniture During Renovation?
Eligible furniture stored in a qualifying self-storage unit may receive financial protection against specified covered events under a storage insurance policy. The actual coverage depends on the policy wording, insured location, limits, exclusions, and other conditions. Storage contents insurance should not be confused with contractor liability or insurance for renovation work at your home.
What Happens if My Renovation Is Delayed and I Need Storage Longer?
Contact your storage provider to confirm whether the rental can be extended and check the associated charges. Review your insurance policy's renewal arrangements and ensure coverage remains active for the entire storage period. Do not assume that storage rental and insurance dates automatically update together.
Can Construction Dust Damage Furniture in Storage?
A suitable off-site storage unit separates furniture from most dust generated by renovation work inside the home. However, dust can still accumulate inside the storage facility or enter through openings. Clean furniture before storage and use suitable breathable covers to reduce exposure during the renovation period.
Should I Disassemble Furniture Before Moving It to Storage?
Disassemble furniture when its design allows it and doing so will make transportation or storage easier. Removing detachable legs, shelves, bed frames, and other components can reduce space requirements and protect vulnerable joints. Label all hardware and keep assembly instructions so the pieces can be reassembled correctly after renovation.